
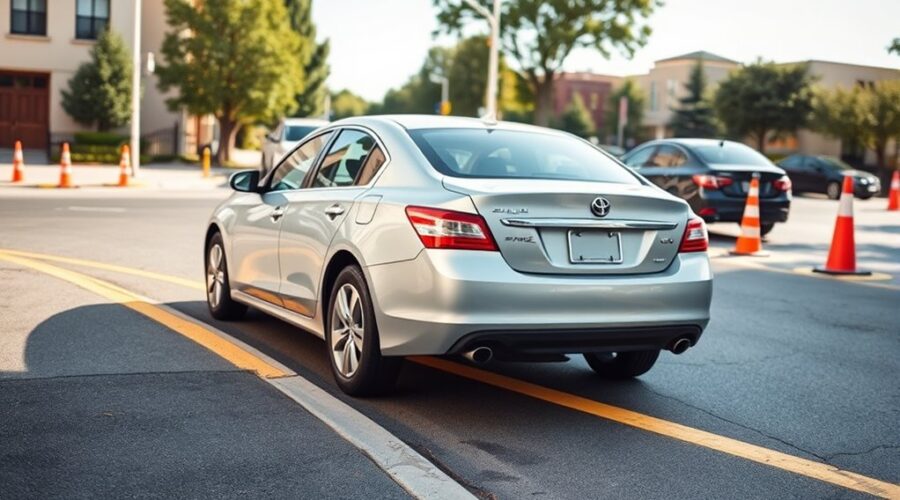
Parallel parking becomes manageable with a simple sequence. First, the driver should choose a space that is at least one and a half times the car’s length. Next, the vehicle is aligned beside the parked car, then reversed until the rear bumpers match. After that, the wheels turn toward the curb. Small corrections follow, but the exact timing makes all the difference.
Choose a Space That Fits
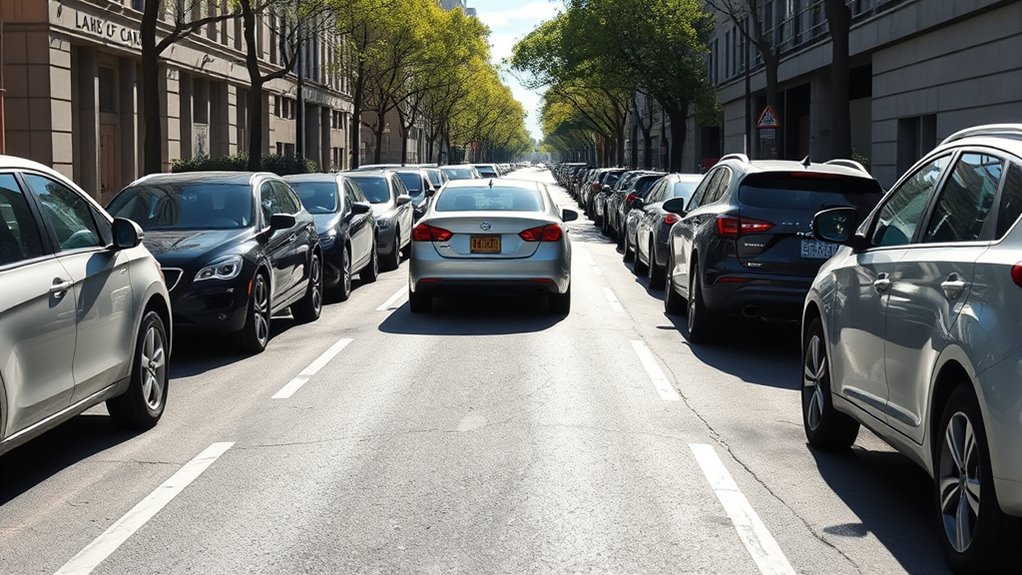
To choose a suitable parking space, a driver should look for one that is at least 1.5 times the length of the vehicle, providing enough room to maneuver safely.
Ideal parking spaces also allow a clear buffer from the vehicle in front and from the car behind. A space about 5 times the length of the car is more than enough, but the key is usable room, not excess.
The driver should avoid obstacles, including poles, bins, bicycles, and uneven curbs, because they increase the chance of contact. Tight spots should be passed over, since they can force awkward corrections and minor damage.
Well-lit areas are preferable, especially during practice, because visibility supports calm and accurate judgment.
The angle of the curb should be checked before committing, as it can change the way the vehicle settles into place.
Choosing carefully preserves control and keeps the process open, safe, and deliberate.
Signal and Line Up Beside the Car
Once a suitable space has been chosen, the driver should signal early to show the intent to park and then approach the spot slowly and calmly. This clear signal informs others and supports a smoother maneuver.
The vehicle should then align your car parallel to the parked car beside the space, keeping a distance of about 2 to 3 feet. That distance provides room to adjust without crowding the other vehicle.
Align parallel to the parked car with about 2 to 3 feet of space for easy adjustment.
Before committing to the position, the driver should check your mirrors and scan blind spots for pedestrians, cyclists, and nearby traffic. The front and rear of the vehicle should be kept steady and level with the parked car, creating a controlled setup.
At this stage, the goal is not haste, but calm accuracy. A careful approach preserves freedom of movement, reduces confusion, and prepares the driver to reverse with confidence into the open space ahead.
Reverse Back to the Rear Bumper
When the rear bumper of the moving vehicle lines up with the rear bumper of the parked car, the driver should begin reversing slowly while keeping a safe distance of about 2 to 3 feet.
The vehicle should move back with steady control, and the wheels should be turned sharply to the right, about 45 degrees, to angle the car toward the curb.
As the reverse continues, the passenger-side mirror should be watched closely so the rear bumper stays correctly positioned relative to the front car.
Light brake pressure helps regulate speed and prevents sudden motion, preserving calm control.
The driver should remain patient and precise, allowing the car to arc smoothly into place.
Reversing should stop once the vehicle is parallel to the curb, with the body held about 6 to 12 inches away.
This measured approach supports freedom through skill, confidence, and disciplined movement.
Turn Toward the Curb and Enter
The driver should turn the steering wheel sharply toward the curb, then back in slowly at about a 45-degree angle.
As the vehicle enters the space, the passenger-side mirror should line up with the rear bumper of the parked car to signal when to begin straightening.
Careful use of the mirrors and a glance over the shoulder help keep the vehicle clear of nearby cars and pedestrians.
Turn Sharp Right
As the rear bumper aligns with the rear bumper of the parked car beside it, the driver turns the steering wheel sharply to the right, angling the vehicle about 45 degrees toward the curb and beginning the reverse into the space. This turn right motion gives the car a clear path while keeping the curb in view.
- Hold the wheel firmly and watch the passenger-side mirror.
- Recheck the rear bumper position before easing back.
- Maintain a slow, controlled pace for precise movement.
- Prepare to adjust if the curb or any obstacle shifts into view.
The goal is steady guidance, not haste, so the vehicle enters with control and freedom from uncertainty.
Back In Slowly
With the rear bumper now aligned, the driver eases the vehicle back slowly while keeping a sharp right turn toward the curb so the car enters the space at about a 45-degree angle.
During this backing, the driver should turn the wheel steadily and maintain a safe 2 to 3 feet from the parked car. The mirrors must be checked continuously, and the shoulder glance should confirm that pedestrians and obstacles are clear.
Once the passenger-side mirror lines up with the rear bumper of the front car, backing should stop. The wheel then returns straight to guide the vehicle parallel to the curb.
The final position should leave 6 to 12 inches from the curb, creating orderly space and a liberated sense of control.
Straighten the Wheels and Center Up
Once the vehicle is aligned with the curb, the driver should turn the steering wheel to straighten the wheels so the car sits parallel to the curb. This step helps the driver center your car with calm control and clear intention.
- Shift into drive for small corrections.
- Move forward or backward only as needed.
- Keep equal space from nearby vehicles.
- Remember practice makes perfect.
A careful adjustment can place the car neatly within the space and support a smooth exit later. The goal is not perfection on the first attempt, but steady progress toward precision and ease.
With measured movements, the driver can correct the position until the vehicle feels balanced and orderly. When the car is properly centered, it stands ready for safe departure and respectful use of shared space.
This simple finishing action reinforces confidence, reduces stress, and strengthens independent driving skill.
Leave 6 to 12 Inches From the Curb
A properly parked vehicle should sit 6 to 12 inches from the curb, which meets most state requirements and leaves enough room for traffic to move safely. This distance supports strong parallel parking skills because it balances access, clearance, and order.
The curb should be treated as a guide, not a barrier, while the driver uses the rearview mirror and side mirrors to judge spacing. If the vehicle is too close or too far, small adjustments can be made by moving forward or backward until the position is correct.
The curb is a guide, not a barrier; use your mirrors to fine-tune spacing safely.
Remaining within this range helps adjacent vehicles enter and exit their spots without difficulty and reduces the chance of a parking violation. Careful checking of surroundings keeps the process controlled and calm.
Once the vehicle rests at the proper distance from the curb, the parking job is complete and the driver can leave with confidence.
Fix Common Parallel Parking Mistakes
Common parallel parking mistakes often come from poor timing, weak spacing, and incomplete checks. A calm parking sequence depends on distance awareness, mirror use, and exact curb distance.
- Turn too late: begin when the rear bumper of the lead car aligns with the rear bumper, then turn your wheels with control.
- Park too close or far: keep about 2 to 3 feet from the car behind so the vehicle can move cleanly into place.
- Ignore mirrors: each glance confirms clear space and prevents contact with nearby obstacles.
- Miss final alignment: keep curb distance near 6 to 12 inches, then make small forward and backward corrections until centered.
Each step supports freedom from stress and hesitation. Precise parking is not about force; it is about measured choices, steady vision, and accurate position.
Practice Parallel Parking Until It Feels Easy
Practice should begin in easy, spacious spots, such as empty lots or curbside spaces that are at least 1.5 times the vehicle’s length.
Simple reference points, including a 6–12 inch gap from the curb and the MSMOG sequence, help make each movement consistent and clear.
Repeated practice in these controlled conditions builds confidence and turns the process into a familiar routine.
Start With Easy Spots
Plenty of new drivers benefit from starting in spacious parking areas, where there is room to maneuver without the pressure of nearby vehicles or obstacles.
A generous parking spot, about 1.5 times the vehicle length, lets the driver start backing with less strain and more control.
Practice should begin in calm conditions, with the driver using Mirrors, Signal, Mirrors, Over-the-shoulder, Go to stay aware of traffic and pedestrians.
Freedom grows through repetition, because Practice Makes confidence stronger each time.
- Choose open spaces first.
- Keep 2–3 feet from the car ahead.
- Progress to tighter spots gradually.
- Repeat until movement feels natural.
Use Simple Reference Points
Simple reference points help a driver enter a parallel parking space with less guesswork and more control. A useful method is to line up the rear bumper of the parked car beside the space with the rear wheel, then begin to turn right. Keep the car about 2 to 3 feet from the curbside vehicle before reversing.
| Reference point | Action |
|---|---|
| Rear bumper | Start the turning motion |
| Passenger-side mirror | Check curb distance |
| Front door mirror | Adjust when it meets the front car’s rear bumper |
While backing, the driver should watch the passenger-side mirror and keep the vehicle 6 to 12 inches from the curb. When the front wheels and front door mirror reach the next bumper, the steering can be straightened to guide the car cleanly into place.
Build Confidence Through Repetition
With regular repetition, parallel parking becomes less intimidating and more controlled as the driver builds muscle memory and a clearer sense of vehicle size. Repeated practice in varied settings reduces anxiety and strengthens confidence, allowing each movement to feel more deliberate and free.
- Use cones or markers to simulate curbside space and sharpen spatial awareness.
- Practice 10-15 sessions in different environments to improve vehicle control.
- Invite a partner to give immediate feedback and reinforce correct habits.
- Use backup cameras and sensors as visual guides, not replacements for judgment.
Over time, these drills make the sequence familiar, and the driver can act with calm precision. The result is greater confidence, smoother parking, and a practical path toward independence.
Frequently Asked Questions
How to Parallel Park in 4 Steps?
It takes four steps: space assessment, vehicle alignment, reversing and steering, then straightening and adjusting. Careful parking techniques support confidence building, while patient precision helps the driver settle near the curb and center the car safely.
How to Parallel Park 3 Step Rule?
The 3-step rule: measure a suitable space, align vehicle positioning beside the car ahead, then reverse using the rearview mirror while steering in smoothly. These parking techniques require patience, precision, and freedom from haste.
What Is the 1-2-1 Method of Parallel Parking?
The 1-2-1 method is three calm maneuvers, oddly liberating for such tight parking techniques: assess space, align beside the car, reverse at a 45-degree angle, then straighten through careful angle adjustments, mirror usage, and final curb alignment.
What Are Common Mistakes When Parallel Parking?
Common mistakes include poor mirror checks, weak space assessment, late angle adjustment, rushed reverse steering, and skipping signals. Drivers often misjudge curb distance, turn too late, or fail to scan blind spots before reversing.
Conclusion
In the end, parallel parking becomes far less of a little ordeal once the driver chooses a suitable space, lines up with care, and reverses with calm attention. By turning toward the curb at the right moment, straightening the wheels, and leaving a modest 6 to 12 inches of breathing room, the vehicle settles neatly into place. With regular practice, this once-fussy maneuver often grows into a smooth, almost polite routine.